Step 1: Upload the files
Download your application files in the folder you will see a zip archive named application.zip. Upload the content in this folder to your web server.
Step 2: Installation
Visit your website url followed by /install for eg. https://your-domain.com/install. You should see the following page, as shown below.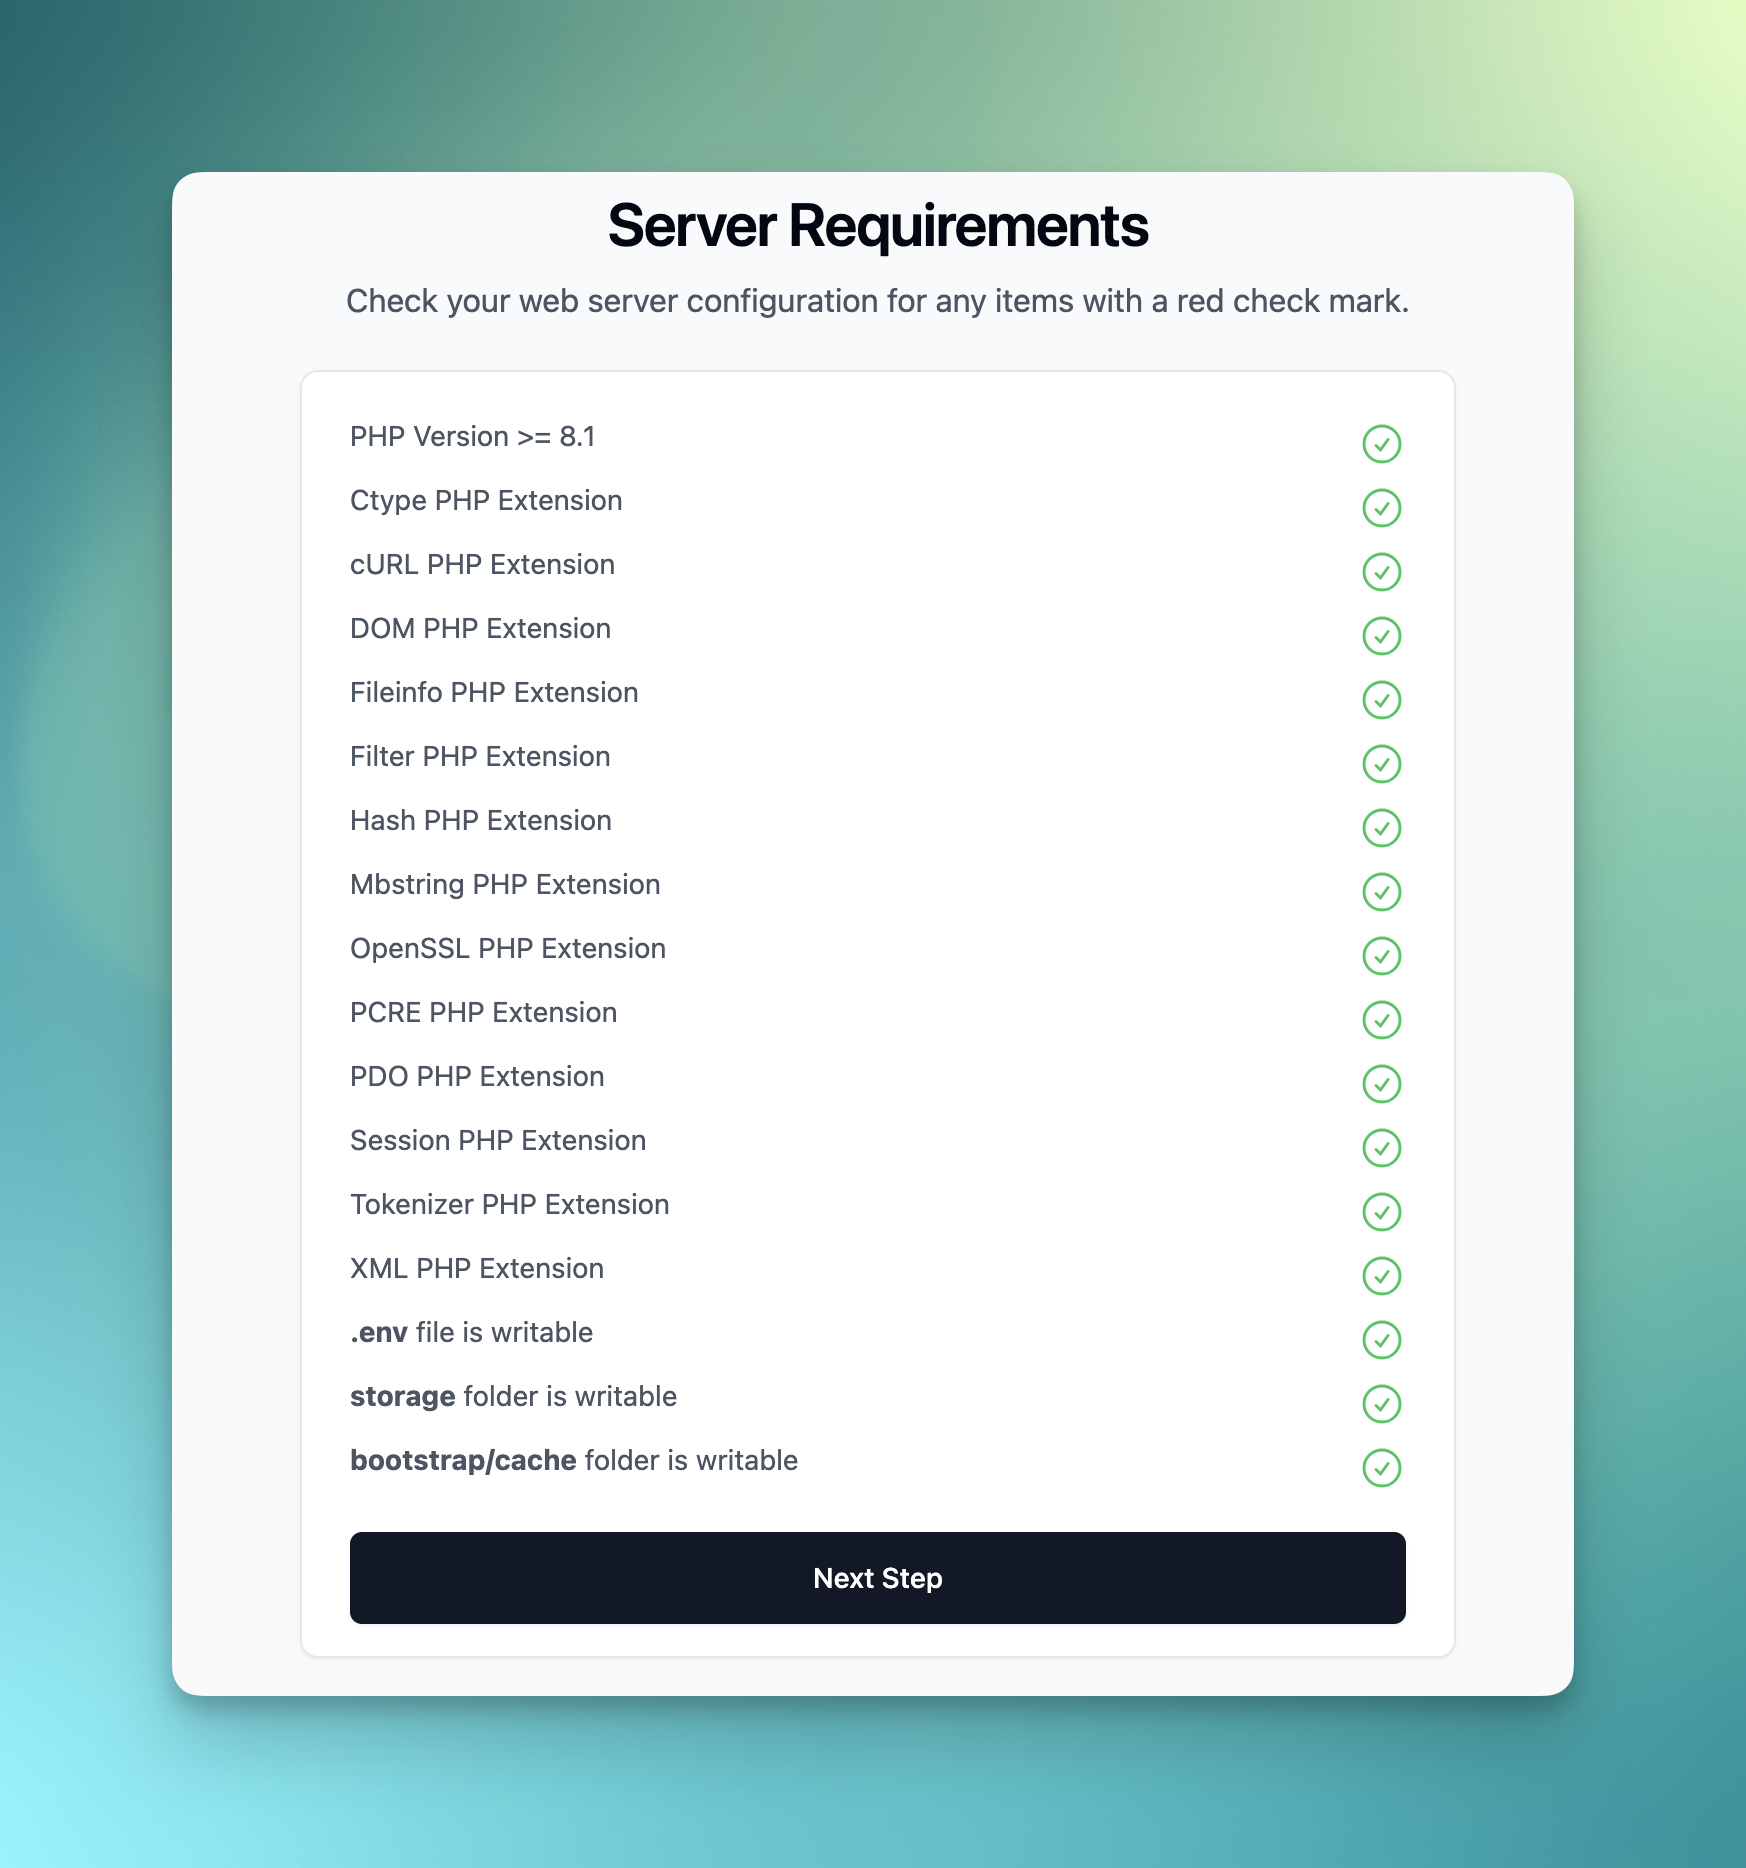 Make sure your server complies with the requirements, then click the Next Step button. If your server does not meet the requirements, you should get in touch with your hosting provider for assistance with configuring your web server.
Environment configuration
Complete the configuration settings by entering your application name, URL, logo, and favicon URL. Additionally, fill out the other sections as explained below. Afterward, click “Next Step.” Database: Provide your database details. If you haven’t created a database, you’ll need to do so through your hosting provider. Mail: Select your preferred method for sending transactional emails: either through PHP Send mail or using an SMTP provider. OpenAI: Refer to the OpenAI Configuration section for in-depth details on this.. Pusher: Review the Pusher Configuration section for comprehensive details. Queue: Choose between sync, database, or Redis to handle queued jobs processed in the background. File storage: Decide whether to store media files on your local server or use Amazon S3.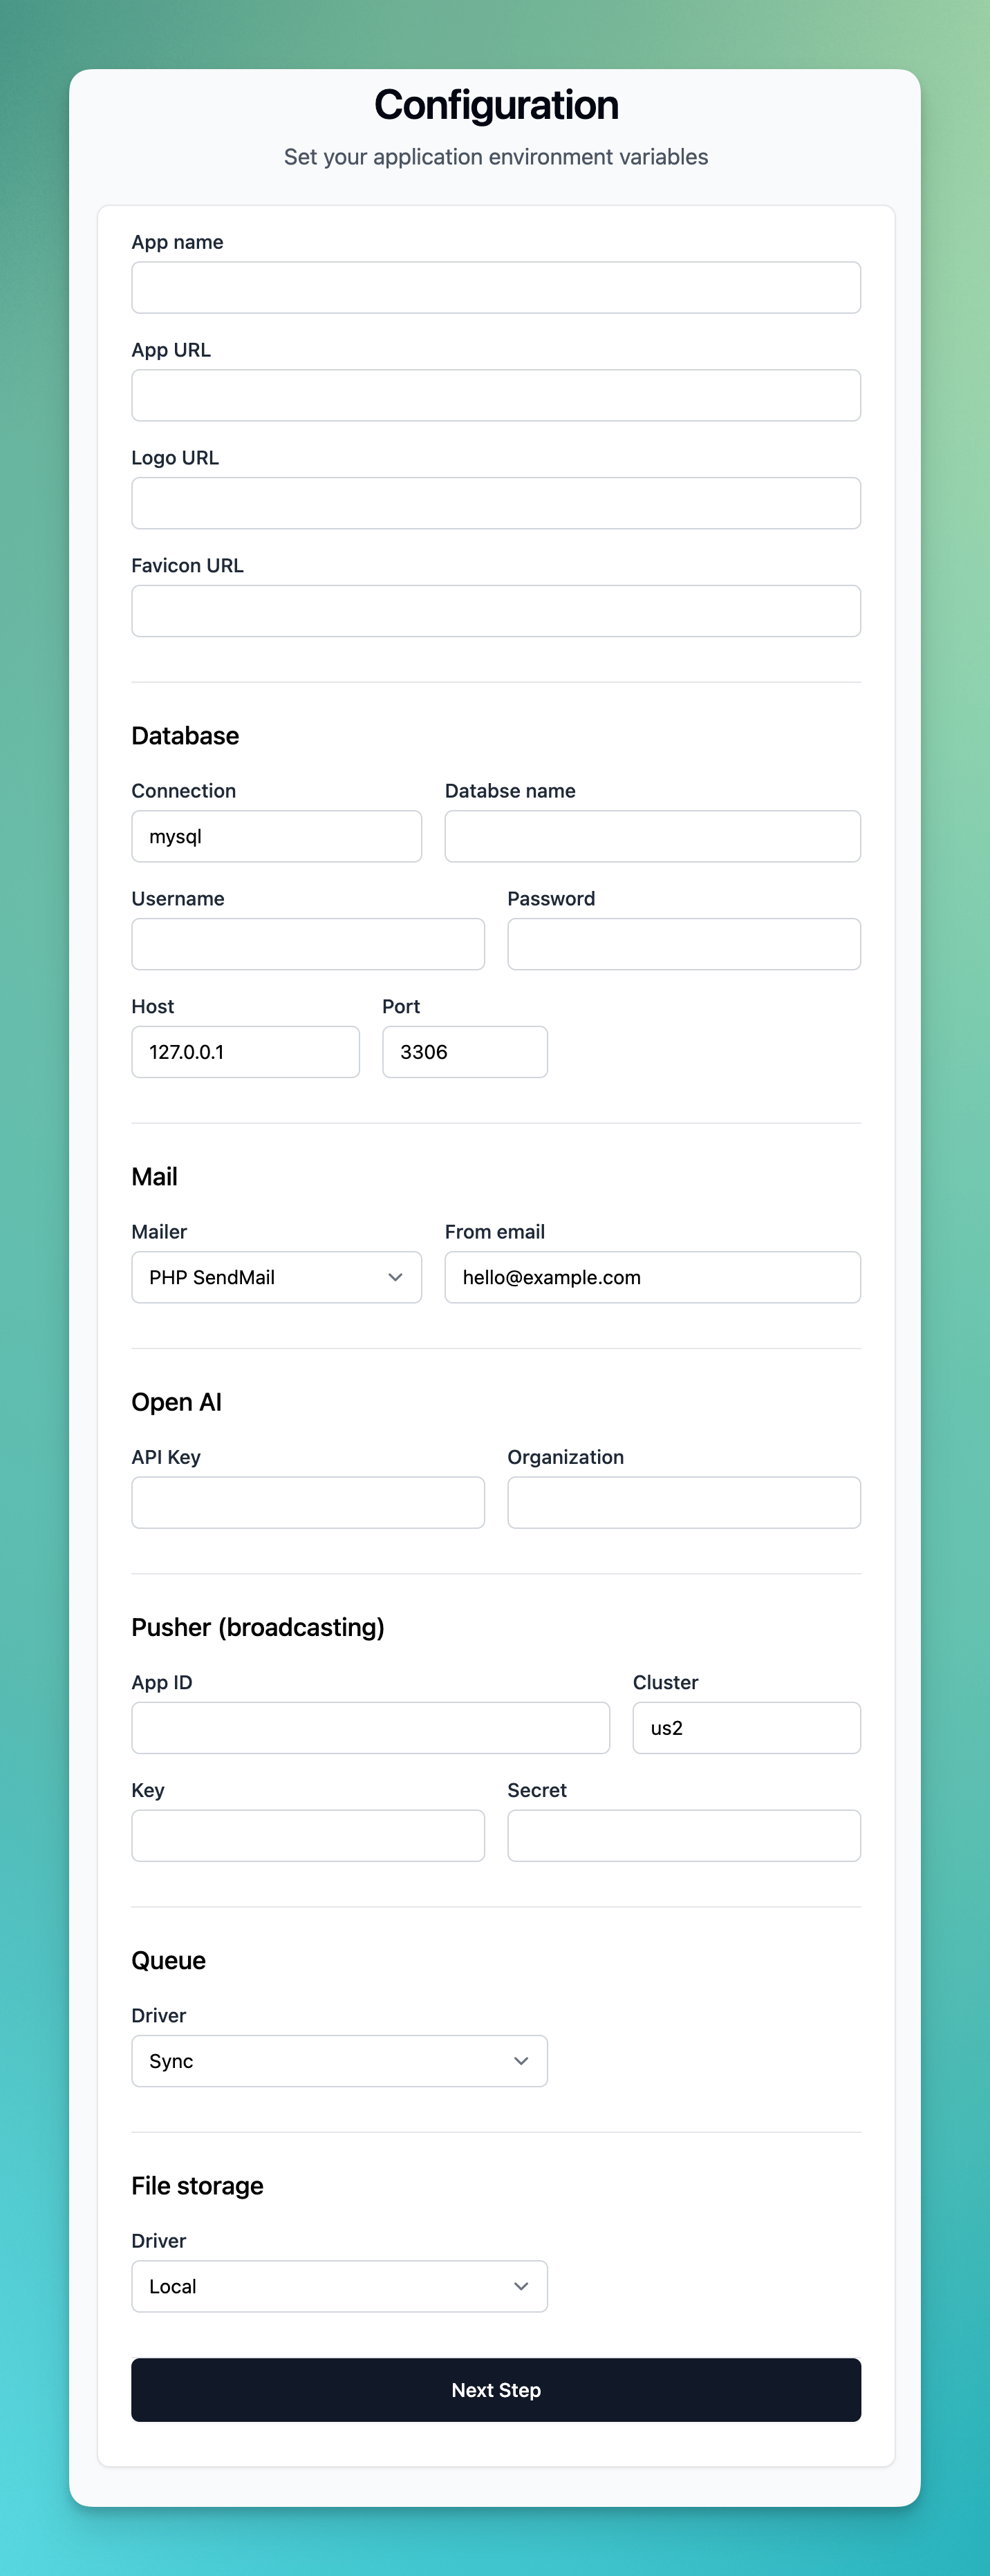
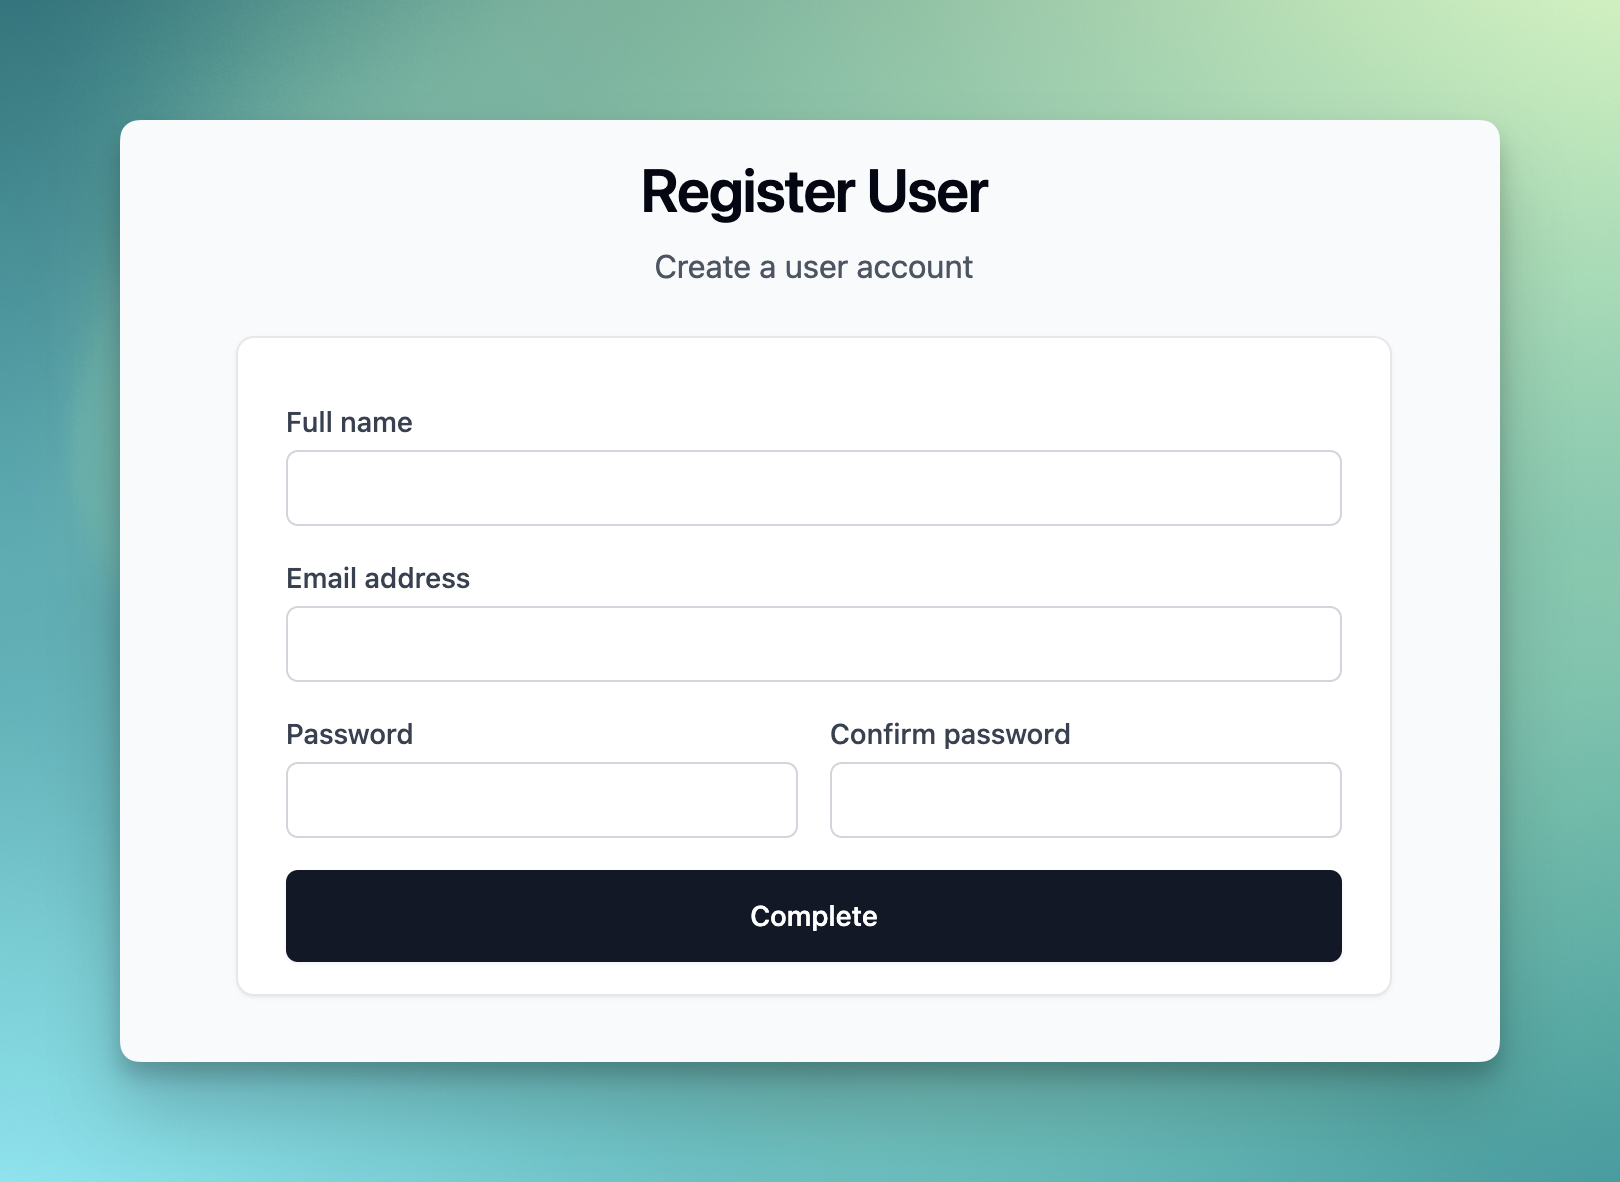
Create user account
The final step requires you to create an account. Fill out the form with your name, email, and password, then click “Complete.” That’s it, your application installation is complete.